How to Play PowerPoint Slides Automatically without Clicking

The PowerPoint autoplay feature is an amazing tool for creating slideshows that advance automatically.
Whether you're setting up a self-running PowerPoint presentation for a kiosk or a publicity booth, autoplay slides in PowerPoint are key. You can even show them with recordings or voiceovers to keep your audience engaged.
Forget manually advancing slides—here’s how to play PowerPoint slides automatically without clicking for a seamless presentation!

Here are the topics I'll cover:
- Why should you use the automatic slide show PowerPoint feature?
- How to Play PowerPoint Slides Automatically without Clicking
- How to play a slide show in PowerPoint automatically with audio
- How to loop a PowerPoint presentation
- Best practices for PowerPoint automatic slide show
- How to play PowerPoint slides automatically without clicking on Mac
- Turn Your Slides into Masterpieces – Get Professional Designs with 24Slides!
Why should you use the automatic slide show PowerPoint feature?
The main reason is its convenience. By setting it up in advance, you can ensure a smooth presentation without needing ongoing attention. You can even add voiceovers, recordings, and laser pointer gestures to make your presentation engaging for your audience.

It becomes particularly beneficial in the following scenarios:
- Business presentations: An automatic slideshow can help you focus on your content without worrying about going slide by slide, which can often be distracting.
- Publicity: If you have a kiosk or booth, a self-running PowerPoint slideshow can help you reach more people without them having to speak one-on-one with a salesperson.
- E-Learning: In e-learning or training presentations, autoplay guides learners through the material while they listen. Moreover, they can also pause and rewind specific sections.
- Photo or Video Slideshows: Autoplay is commonly used in photo or video slideshows for events. It can serve as a background loop, or you can present it at a special moment along with music or narration to enhance the experience.
How to Play PowerPoint Slides Automatically without Clicking
There are two ways to automate your slides, and I’ll cover both. If you want a more customized presentation, choose “Option 1.” But if you’re looking for something simpler, skip ahead to “Option 2.”
However, before choosing how to autorun PowerPoint, you’ll need to set up automatic playback first.
Setting Up Automatic Playback
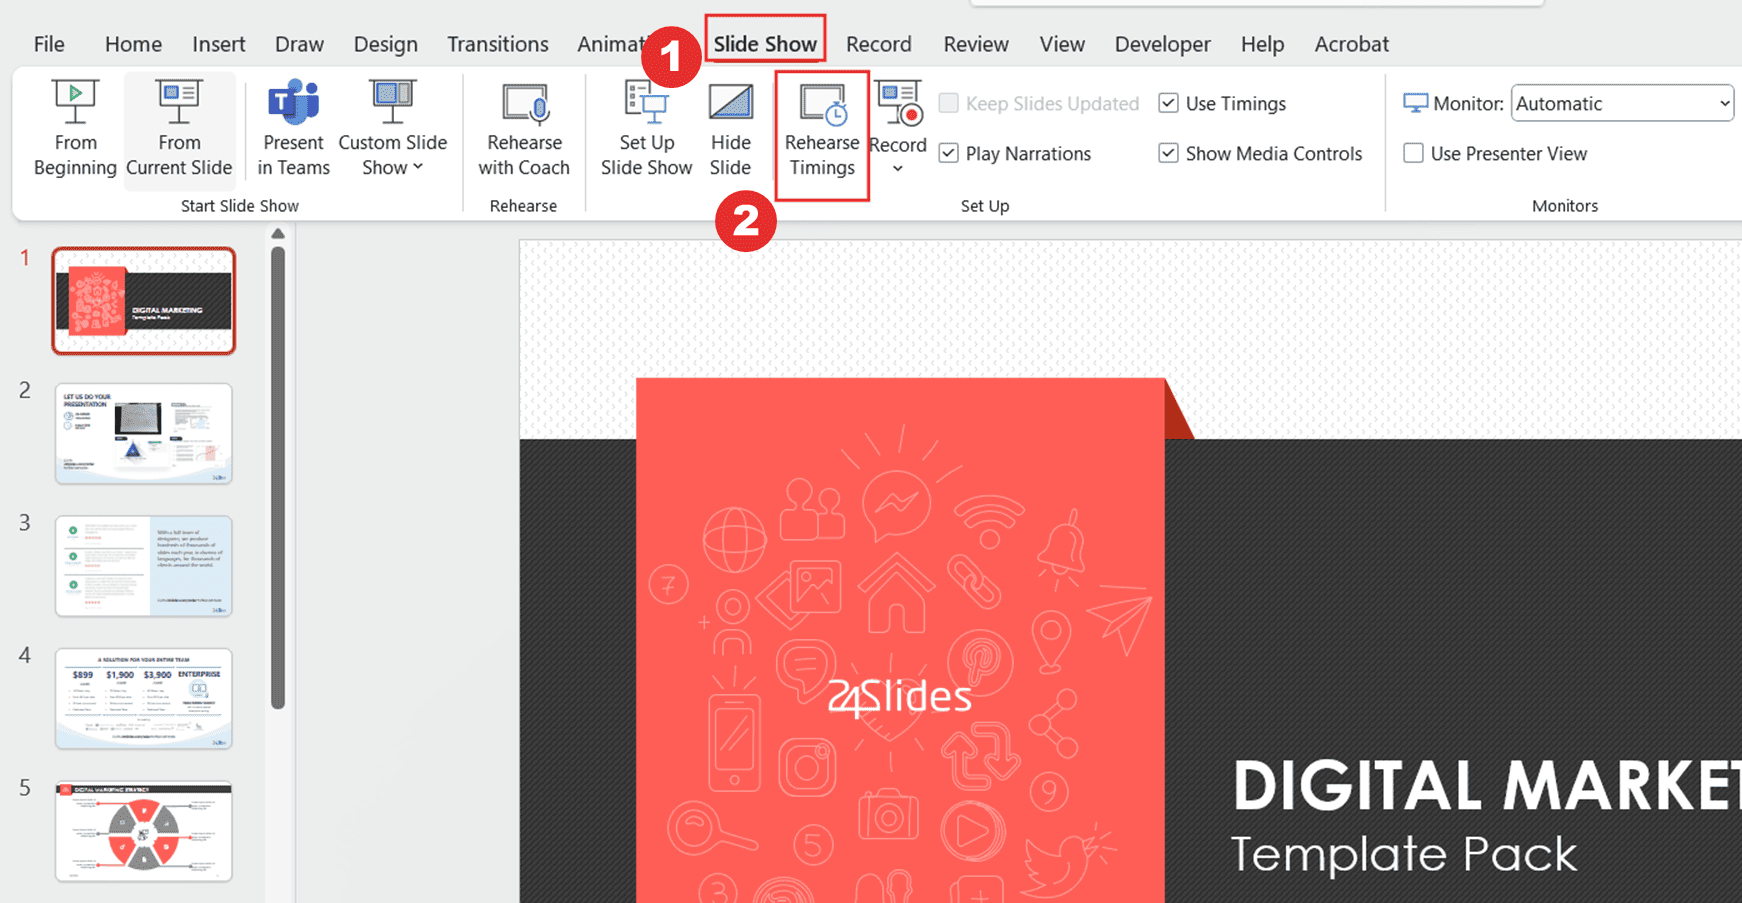
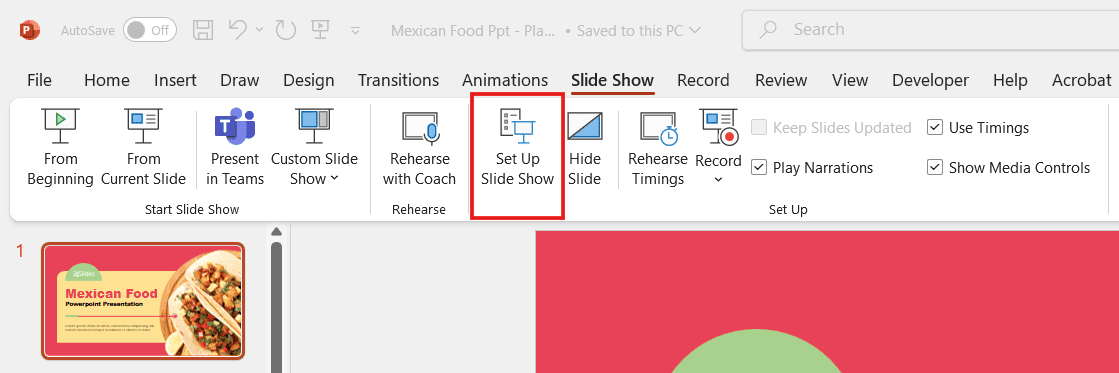
- First, go to the Slide Show Tab. In the Set Up group, click the Set Up Slide Show option to start customizing your self-running presentation.

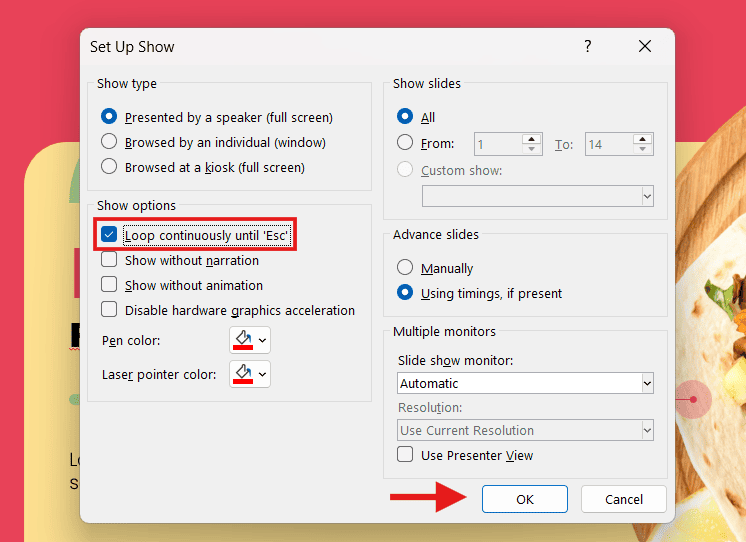
- Once the Set Up Show Window opens, uncheck the Presented by a speaker option to avoid manually advancing your slides. Next, explore the options for the automatic slide show:
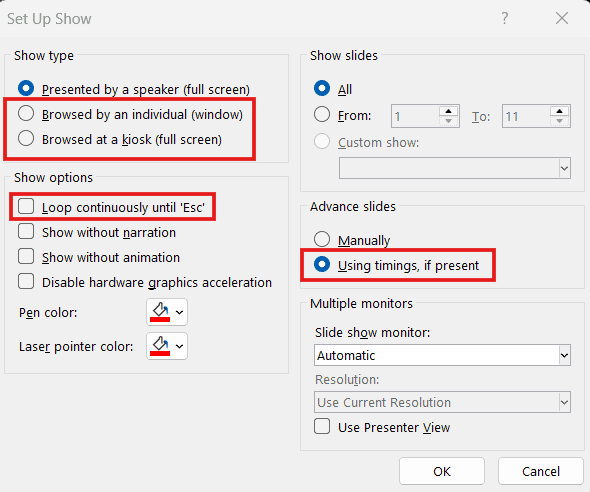
- Browsed by an Individual lets you create a self-running presentation in a window instead of full-screen. Enable the "Use timings, if present" option to ensure it works properly.
- Browsed at a Kiosk allows you to run your slideshow in full-screen mode. This option locks in both the looping and timing settings, ensuring your slideshow continues until you press the ESC key.
If you’re not sure which option is best for you, remember you can always select the loop and timings option manually. Try different options with these and see how your presentation will look with the different settings.
Option 1: PowePoint Autoplay with Slide Timings
Now that you have set up automatic playback (previous section), you can adjust slide timings. This option is for a fully customized presentation, letting you set slide timing, add voiceovers, and use laser pointer gestures.
When using slide timings, you rehearse and record the timings for all slides. This sets how long each slide stays on screen before your PowerPoint slideshow advances automatically.
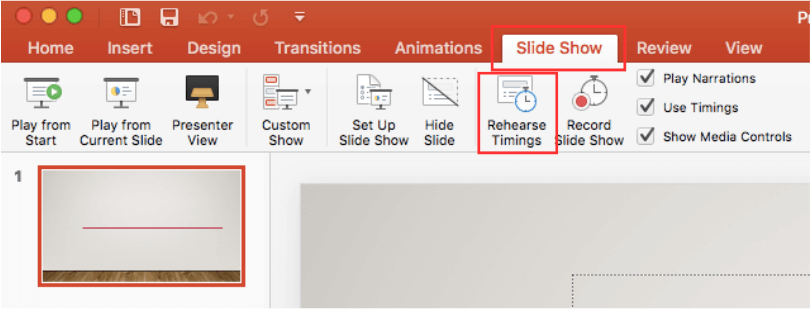
- Step 1: Go to the Slide Show tab and select Rehearse Timings. This will start the slideshow.
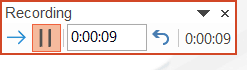
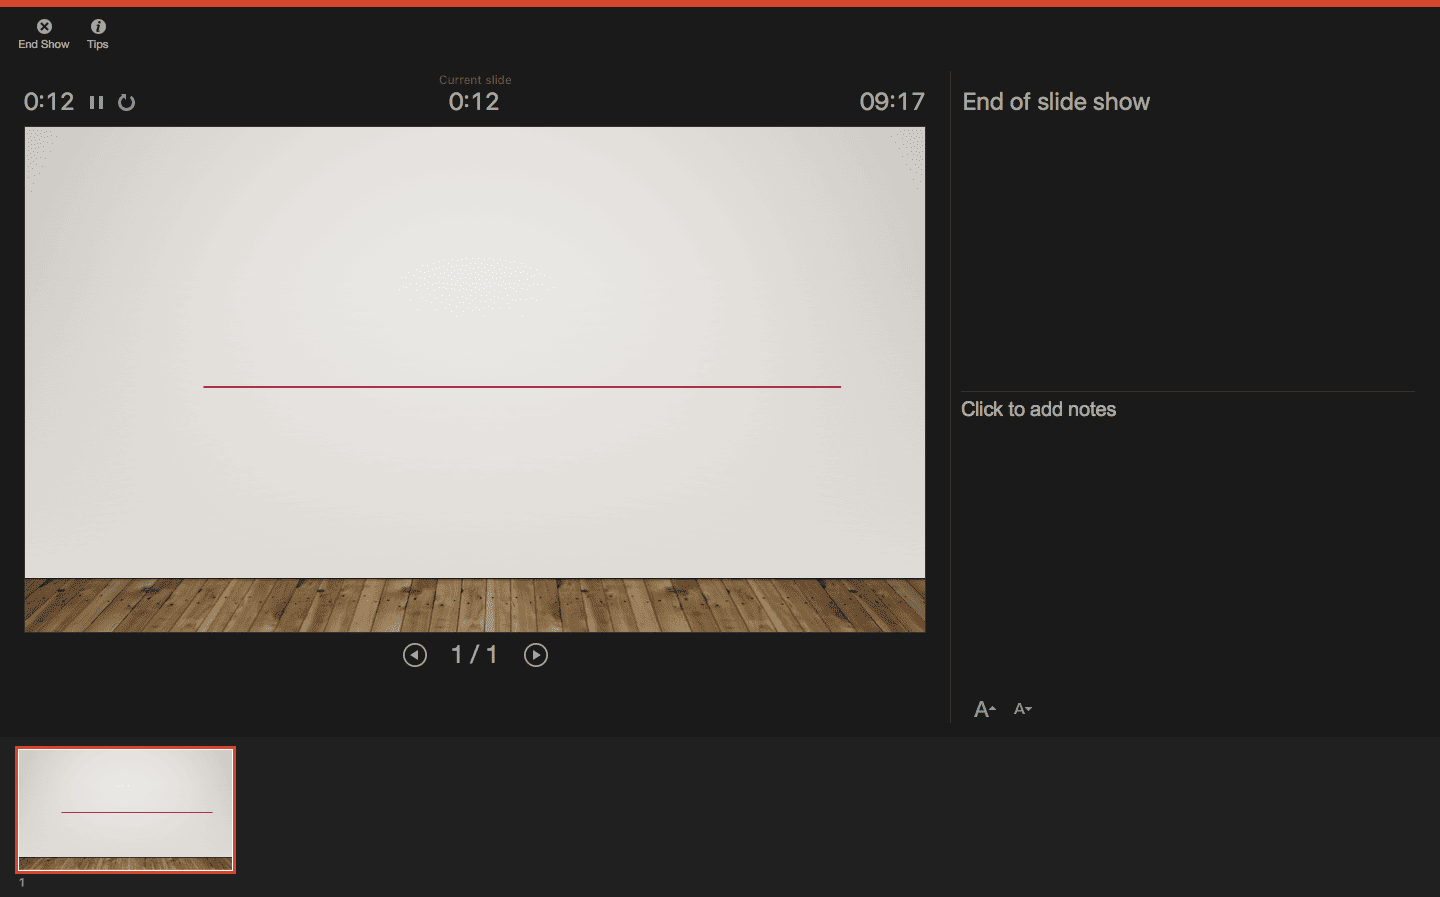
- Step 2: Stay on each slide as long as needed—the time you spend will be recorded. Click the Next arrow in the Rehearsal toolbar to move to the next slide.
The Rehearsal toolbar also lets you Pause, Play, or Repeat the recording. You can adjust each slide's timing as needed.
Tip: Go through the slideshow at your own pace, reading the slides out loud as if presenting. When finished, save the recorded timings.
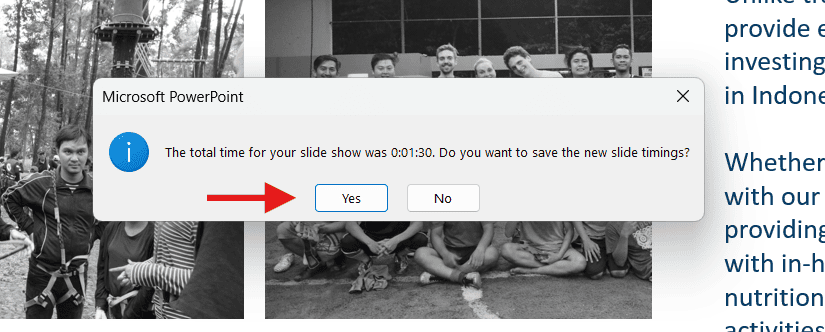
- Step 3: After you finish going through all your slides, a message will pop up with the total duration of the slideshow. Click Yes to save the recorded timings.
To check the timing for each slide, go to View > Slide Sorter. The timings will be displayed at the bottom of each slide preview.

Option 2: PowePoint Autoplay with Slide Transitions
After setting up automatic playback (previous section), let's explore another way to use PowerPoint autoplay. This option is great if you’re looking for something simple and just want your slides to advance automatically at regular intervals.
- Step 1: Select your first slide and go to the Transitions Tab. Then, locate the Timing Group.
Note: In the Transitions tab, you can optionally choose an effect and adjust its duration on the right.

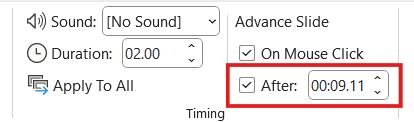
- Step 2: Go to the After option and manually add the time you want to spend on each slide.
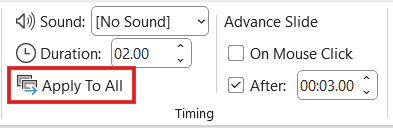
- Step 3: Select the Apply To All option so all your slides have the same timing.
Note: You can also set the time for each slide by selecting it and adjusting the duration in the Timing Group.
You can also deselect the On Mouse Click option, depending on whether you want to be able to advance your slides by clicking or not.
How to play a slide show in PowerPoint automatically with audio
Adding audio to your automatic PowerPoint presentation is a great way to enhance your professional image and convey your message without needing to be present. Here is how to do it:
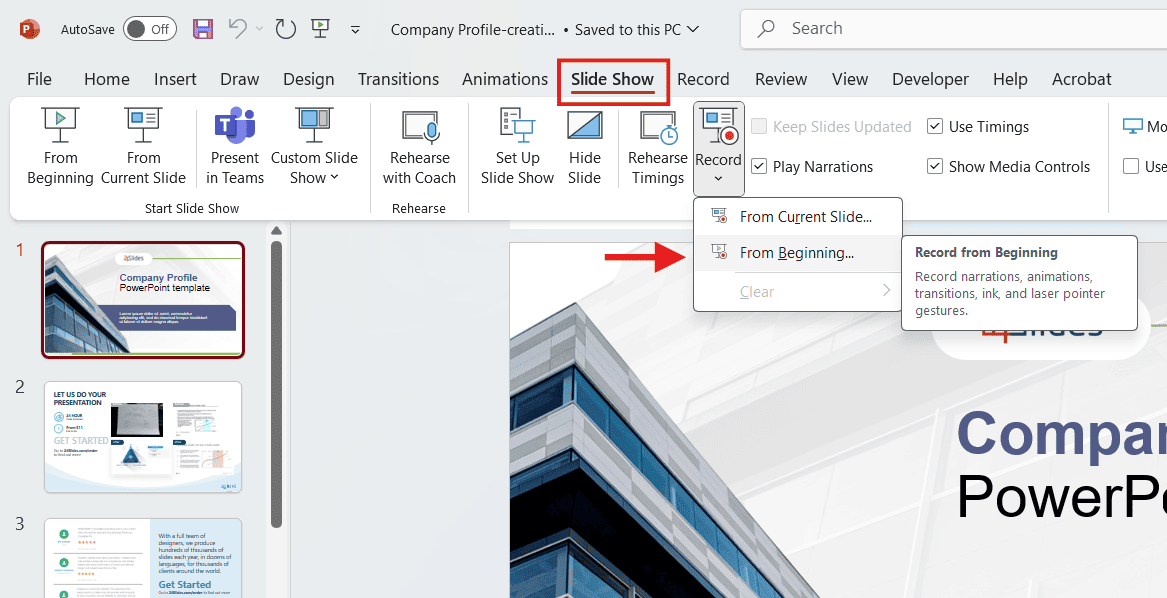
- Go to Slide Show > Record and click the down arrow. Then, select Record From Beginning to start from the first slide.
When the fullscreen opens, you will be able to see your first slide along with several options:
- Start in Settings (1) and select your recording tools, such as your microphone and/or camera.
- Next (2), decide whether you want the microphone or camera you selected turned on.
- When you're ready to start recording, go to the top center (3) and click Record to start, Stop to pause, or Retake to begin your recording again.
- Once you finish with a slide, click on the right arrow (4) to move to the next slide.
- If your slides have Speaker Notes (5), you can view them while recording.
- In the Pens and Markers section (6), you can draw on the screen and add annotations.
- You can also change the camera mode and switch between views (7).

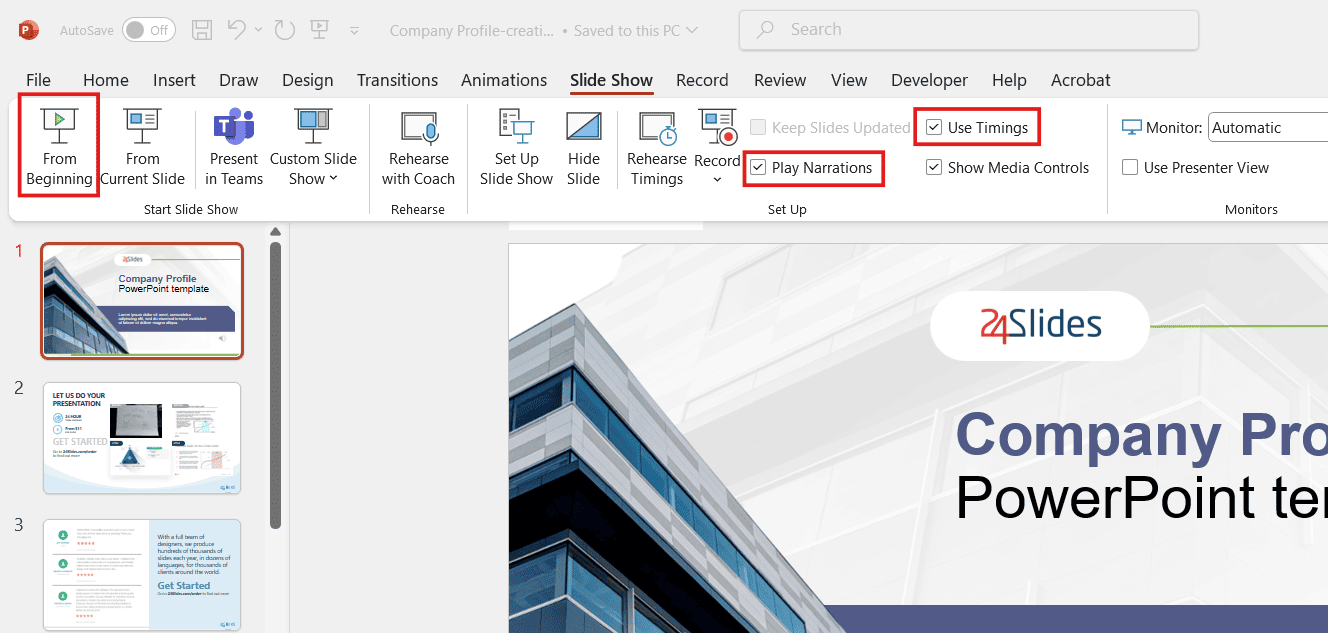
- To review your recordings, go to Set Up and ensure that Play Narrations and Use Timings are checked. Then, click on From Beginning to start the presentation.
You can also export your presentation as a video. Just go to Export > Export Video, then select View and share video to watch it.
How to loop a PowerPoint presentation
If you want to learn how to do you make a PowerPoint loop, follow these steps:
- Go to the Slide Show tab and select Set Up Slide Show.
- When the Set Up Show window opens, go to the Show options group and check the Loop continuously until 'Esc' option. Then, click OK to save the new setup.
Finally, set up your PowerPoint loop with slide transitions.
- Select your first slide and go to the Transitions Tab. Then, locate the Timing Group.
- Go to the After option, and set the time for each slide. If you want the same timing for all your slides, select the Apply To All option.

Note: You can uncheck On Mouse Click depending on whether you want to be able to advance your slides by clicking or not.
And all done! Now, your presentation will loop until you select ‘Esc.’ Here’s an example:

Best practices for PowerPoint automatic slide show
Now that you've learned how to make a PowerPoint slideshow run automatically, we'll give you the secrets to make your presentation stand out. Let's take a look at some insights from our expert designers.
Avoid too much text
Remember that your time per slide is limited. Don’t overload your audience with information; they will not have time to read it. Try to express your message in the shortest possible text. If needed, revise and rewrite the text multiple times to enhance clarity and keep it concise.
Limit interactive elements
Limit or avoid interactive elements such as hyperlinks that rely on user interaction. They might not work when you’re running your PowerPoint in autoplay mode.
However, if you want your audience or potential clients to take a specific action, consider using a QR code. Only make sure to leave the slide displayed for enough time for them to use it.
Practice, practice, practice
Keep in mind that your speech needs to fit perfectly with your timings for each slide. So, practicing your presentation multiple times is crucial to ensure a seamless and synchronized delivery.
Finally, if you are planning to present data in PowerPoint, here’s how to use charts and graphs effectively.
How to play PowerPoint slides automatically without clicking on Mac
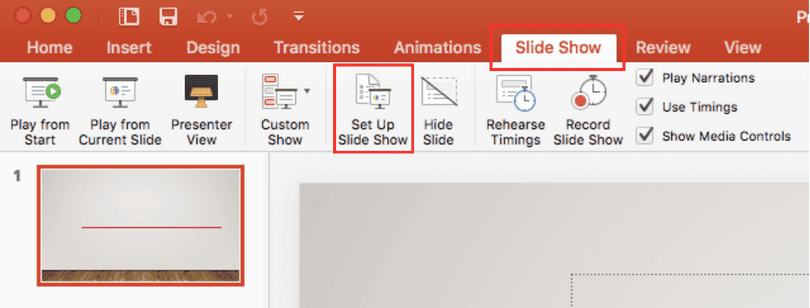
- Step 1: Go to the Slide Show Tab and select Set Up Slide Show.
- Step 2: When the Set Up Show Window opens, deselect the Presented by a speaker option and consider the following options to set up your automatic slideshow:
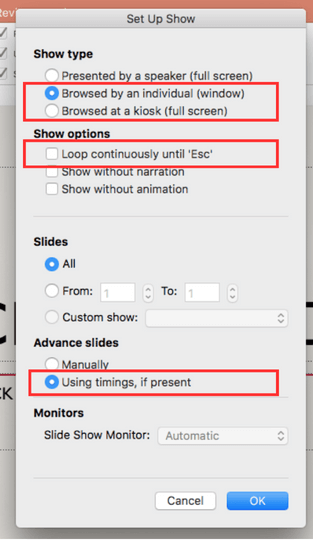
Browsed by an individual: With this option, you can show your slides within a window instead of the typical full-screen mode. Ensure the “Use timings, if present” option is selected.
Browsed at a kiosk: This option locks in both the looping and timing settings, ensuring that your slideshow will continue until you press the ESC key.
Next, you need to set your timings. This involves determining the duration for each slide so that it advances automatically to the next one when you have finished presenting it.
- Step 3: Set your timings. Go to the Slide Show Tab and click on Rehearse Timings.
- Step 4: Record how much time you spend on each slide.
A window will open, allowing you to go through your presentation slide by slide. As you progress through each slide, it will confirm the time spent, and you can either agree or choose to re-record.
After you finish going through all your slides, a message will pop up to save your timings. Click yes to save the time spent on each slide.
Turn Your Slides into Masterpieces – Get Professional Designs with 24Slides!
Making a PowerPoint slideshow play automatically keeps your presentation smooth and hands-free. But if you really want to impress your audience, great design is just as important. That’s where 24Slides can help!
At 24Slides, we turn ordinary slides into masterpieces that look great and effectively convey your message. With our fast turnaround times, your presentation will be ready in no time!
Just In 2024, we served customers in 74 countries, saving them an impressive total of 325.624 hours!
And here’s an amazing deal—you can try us out for just $1! Get a custom, editable, one-slide presentation tailored to your brand for only a dollar.
Don’t miss this incredible offer—from $43 down to just $1!

Want to improve your presentations? Start here!